How can I achieve good microteaching?
What microteaching really is – and what it isn’t
During your SSI Instructor Training you will sooner or later come across the topic of microteaching. For many, at first it’s simply: “So now I’m supposed to give a theory lecture.”
That’s exactly what it’s primarily about, but it’s more than that. It is a tool with which you learn to structure content clearly, prepare it in a didactically meaningful way and at the same time develop your personal way of teaching. And you show that you encourage your students to acquire their own equipment and stay on the ball.
One thing is important here: it is not about finding “the perfect form of teaching”. Microteaching is a mini-lesson with a fixed framework – a format that is suitable for many topics and with which all participants can be compared fairly. What you do with it later is up to you. You can (and should!) adapt it, loosen it up, make it more playful or deeper – but for now it’s all about understanding the basics.
Why theory lessons? And why you should do it well
Especially in times of digital training, the question arises: “Do we still need classroom-based theory lessons at all?“
Short answer: It depends. Long answer: Absolutely – if it’s done sensibly.
The SSI theory units are there to supplement digital self-learning. You help your students to connect what they have learned with real diving experiences. You give them a space to ask questions, understand the context and feel really confident. And you can check whether they have actually internalized the necessary knowledge – or whether they have just clicked through. You don’t have to sit in a classroom to do this: You can talk everywhere, while packing, on the trip, at the briefing, during the surface break, just for a moment about the “theory stuff” that you’re putting into practice right now…
But theory can do even more: it is a tool for retaining divers in the long term.
People stay with diving when they feel they have understood what they are actually doing. When they recognize connections. When they realize that they are becoming safer because they are getting to grips with the subject matter.
And that’s where you come in. A well-done theory presentation shows that diving is not just an experience – it’s a well thought-out concept. And that creates trust.

The structure of microteaching – clear, compact, applicable
Let’s take a look at the evaluation form that will be used to assess your presentation at the end and go through step by step what the points are all about and how they can be elegantly taken into account. You can open it directly and see for yourself exactly which criteria you need to fulfill – it’s transparent and simple.
We have an example video for this: Perhaps not a typical diving topic, but the structure is adhered to here in exemplary form. perfect, therefore, for having a little fun understanding what is expected of euc – and that the framework can be applied to any, really any topic.
Clarify the topic
Before you can get started, you first need to get an overview of your topic. Normally you will be assigned a section from one chapter of the course – for the OWD that you will be practicing the most, e.g. “Chapter 2: The tare system”, “Chapter 3: Proper ascent techniques” or “Chapter 6: Taking care of yourself”.
The first thing you should do now is look at what the students are reading in this chapter, look at the instructor view, and also take a look at what it’s about before and after. At what point in the course are we? What do the students already know, what experiences have they already had, and what is new?
If we realize that we haven’t fully understood something ourselves, we can work on it now so that we can present the content with confidence.
Once this is clear, the individual parts of the presentation can begin.
Introduction: What is it about and why do you need to know it?
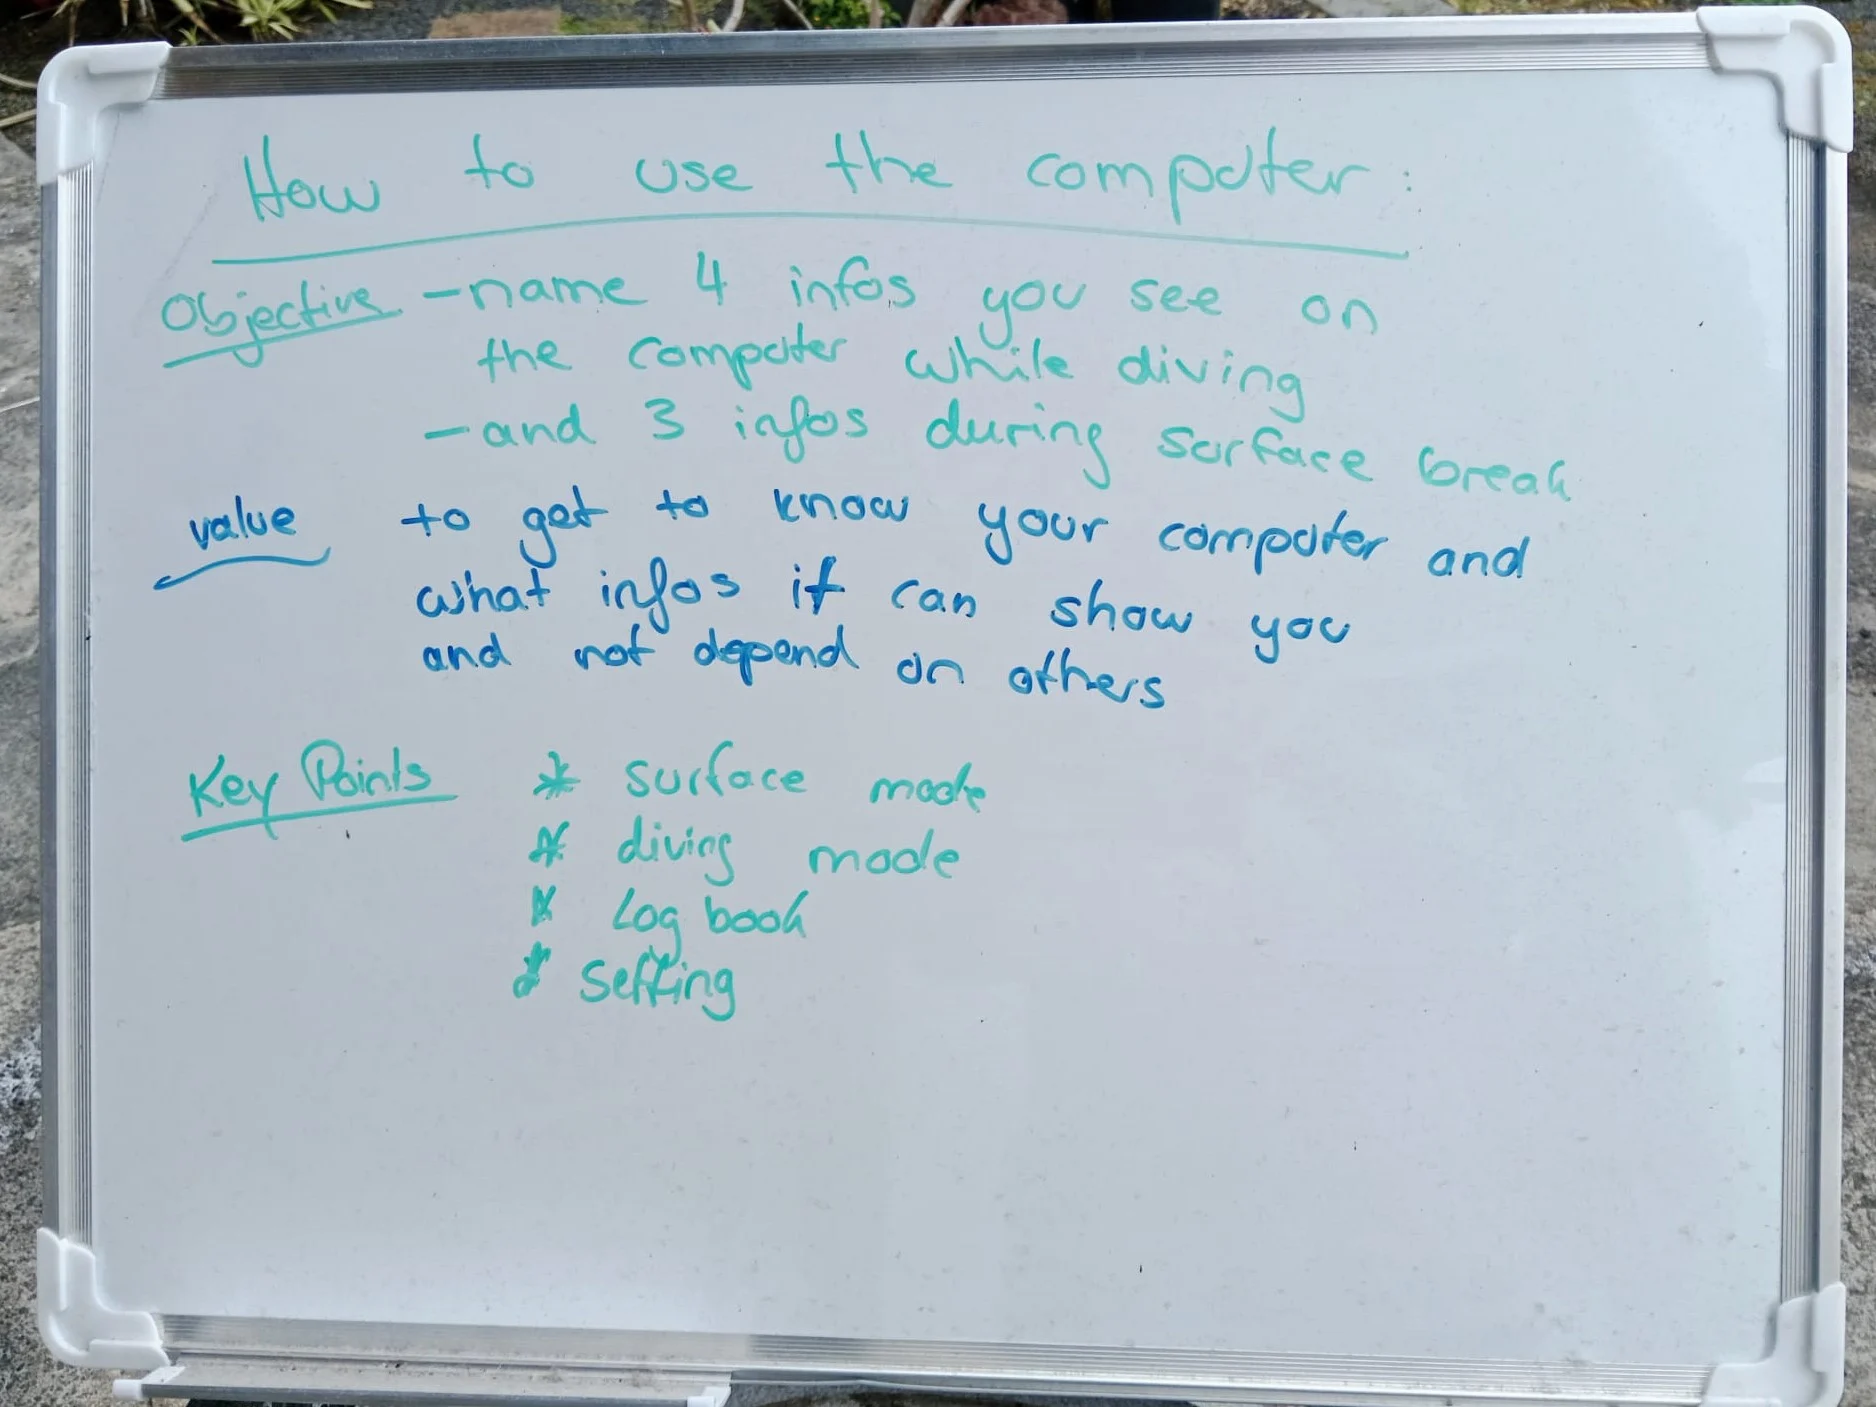
A good theory presentation does not simply begin with “Well, first of all…”, but with a clear introduction that immediately shows the audience what it is about – and why it is important to them. This includes three elements:
- The learning objective – formulated as “After this unit you will be able to …”
- The personal benefit (value) – Why is this important for my safety, my well-being, my diving future?
- The key points – a maximum of three terms or concepts that you convey
Write down the introduction in full – preferably so that you can keep it visible throughout the presentation. Because: You have to come back here at the very end – your summary consists of the same elements, you just have to repeat them again!

Main section: Conveying content – without simply rattling it off
Microteaching depends on you conveying content in such a way that it is understood by the participants. You don’t have to know everything by heart, but you should be able to explain it confidently and clearly. The following applies:
-
Use aids: pictures, real equipment, sketches, digital graphics
-
Speak in your own language – no reading off, no “I have to say all this”
-
Pay attention to whether your listeners can follow – feel free to ask: “Does that sound logical?” or “Which of you has already experienced that?”
It is important that your audience feels that they are not just sitting through a compulsory event, but are actually learning something relevant. And the best way to achieve this is by actually explaining relevant content 🙂
Interaction: Theory is not a one-way street
A common mistake in theory presentations: You talk – and everyone else might be listening.
Better: you deliberately build in small interactions. For example, ask about previous experience, ask someone to give an example, or give a short mini-quiz where everyone has to think along.
Moments like these work wonders, even if they only last 10 seconds. They show: I include you. I am interested in your point of view.
And then, in parts of your presentation, you can break up the blunt “I present, you listen” completely and let your students work on something themselves. Time is tight in a microteaching session – but there is always time for a little activity. Want some examples? Get inspired by some ideas from our previous candidates!
The information system: logging dives
Make sure that your students all have their dive computers with them. When it comes to the logbook, log the last dive you did together. The students will learn how to read the data from their computer and use the logbook – much better than you talking about logbooks….
Calculate AMV
Hardly any other topic is so difficult to explain and yet sooo simple. You can let some of your students use the formula, some the simplified explanation “liters by average pressure by time” (which you explain beforehand…), and some can draw the AMV from the SSI logbook. Then have them briefly discuss which form they find easiest and whether it makes sense for them to trace their AMV.
Dive Guide: Group control
Let one of the students take the lead to go on a little tour around the classroom. Give the other students each a task to do – walk in the other direction, pull out flowers, touch everything, go outside in socks despite the rain…. The guide should react appropriately. After the round, discuss what appropriate reactions to inappropriate behavior by divers might be.
Pulmonary overextension injuries
Print out the diagram from the manual and prepare cards with the names and symptoms of the different barotraumas. As a group, the students should sort the correct names for the illustration and link them to the corresponding symptoms.
Equipment care
There is an equipment care section in various topics. You don’t have to explain this dryly – it’s best to go to the place where you normally rinse your equipment, explain how to do it and let everyone rinse their equipment.
Sales aspect: Yes, that’s part of it
Sounds weird at first, doesn’t it? Combining a theoretical lecture with sales?
But look: we want our students to stick with it – and those who have their own equipment go diving more often. And those who already have lots of ideas about what they want to try out and learn after the course are also more likely to continue their training. As a result, the students actually enjoy their new hobby more and stick with it for longer.
You shouldn ‘t put pressure on yourself here, a diving course is not a coffee trip, but rather a way to provide comfort and safety.
This includes:
- Show suitable special courses (Dry Suit, Nitrox, Perfect Buoyancy, …)
- Arouse interest in your own equipment without badmouthing rental equipment
- Always focus on the added value for the student
Safety or environmental notice: Show attitude
Last but not least, every theoretical lecture should include a brief reference to safe diving or environmental protection – ideally both. It doesn’t have to be a long lecture. One sentence is enough:
“We have a small garbage can at the dive site for your garbage”; “If you’re good at this, you won’t be so distracted and your dive will be much safer”, “You don’t always have to fly far, have you explored the dive sites in your region?” or: “Please never step on reefs – even if it looks like rock.”
The point is: you show that you care about these things. And you are giving your students something that goes beyond the chapter. This should be important among divers – if the next generation still wants to see coral reefs, something urgently needs to happen.

Now it’s your turn!
With this preparation, you should be able to prepare your first microteaching. Just try it out – the microteaching builder can help you make sure you don’t miss anything.
